Knit stitch
If you are left-handed, then change the option below, and all diagrams and descriptions will alter to suit you.
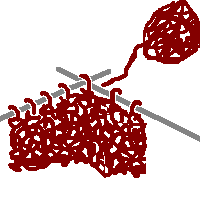
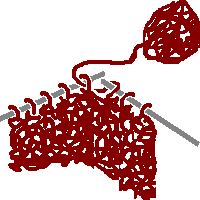
Animations of Knit stitch - Photographs of Knit stitch - Garter stitch
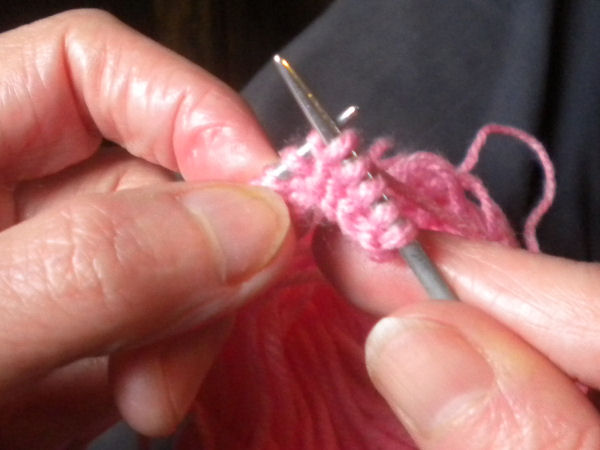
Knit stitch is the basic knitting stitch. The needles are used to make a slip knot through the old stitch on the left needle. This new stitch ends up on the right needle. The surface of the knitting row looks smooth at the front, and knobbly at the back.
The knitting should start on the left needle, and the wool should be at the back of the knitting. If it isn't, then change hands, and adjust the wool so it is. This description below shows a stitch in the middle of a row, but the first stitch in the row is exactly the same, except there is no knitting on the right needle.
|
Push the right needle through the loop of wool in the next stitch, behind the left needle. |
Comments: The right needle should go behind the left needle. This is important.
Don't stick the needle into the wool. That causes you to split the wool later.
Don't stick the needle into the knot. That means you pick up more than one strand of wool later. The needle should go into the loop of wool. In fact, the two needles should rub against each other.
Keep the knot quite close to the end of the needles but not too close. If it's too far down the needles, then the manipulation of the wool later becomes difficult if not impossible. But if it's too far up the needles, then the knitting slips off a needle, and then you are in trouble. This positioning is something that you have to work out for yourself.
|
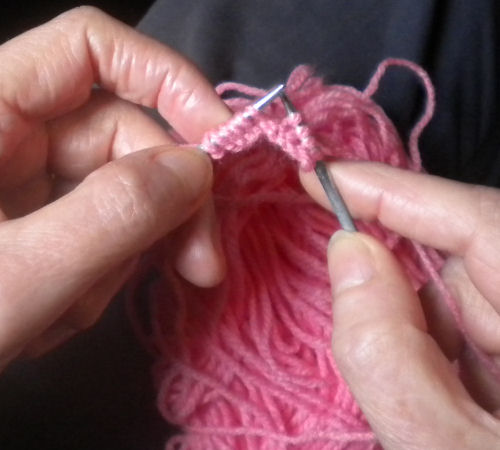
Loop wool round the back of both needles, then between them. |
Comments:There are no hands in these pictures. There are different ways to hold the wool to do this loop. An experienced knitter will probably have the wool looped loosely round the right forefinger, to guide it to the right place. But you can pick the wool up between fore finger and thumb if you want. You need to pull the wool quite tight after the loop, but not too tight.
You must loop the wool round the back of both needles first, raher than between them, or you will get a twisted stitch.
|
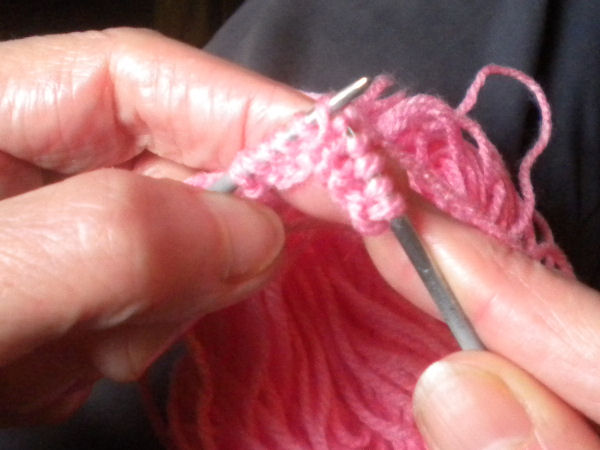
Twist right needle to pick up the wool that is between the needles, and pull out into a loop. |
Comments:This stage is a little tricky, particularly if you have pulled the loop too tight in the last stage.
Pick up the entire width of the wool, don't split the wool with the point of the needle.
Pick up only the wool between the needles, not any other bit of wool.
At the end of this stage, the loop should be easy to make bigger if you want. (If you can't, then you've probably made one of the above mistakes! Slip the stitch off the right needle and start again.)
Once you are happy that this stage is OK, tighten the wool slightly.
|
Slip the old stitch off the left needle and tighten. |
Comments:Make sure that you only slip off one stitch, not more than one!
Tighten the wool, enough to keep the knitting in shape, but not so tight that further knitting becomes difficult. You will get used to how much tension you need.
The wool should be at the back of the needles. There should be one less stitch on the left needle and one more on the right needle.


You work your way along the row until all stitches have been knitted. There should be the same number of stitches as when you started!
For the next row, you transfer the needle with the knitting onto the other hand, and knit the next row.
If the next row is to be knit stitch, then make sure that the wool is at the back of the knitting. This produces, perhaps, an expected effect. Knit stitch produces a smooth surface on the front and a knobbly surface on the back. You would think that if you knit all the rows as knit stitch, that the front of the finished knitting will be smooth and the back knobby. Unfortunately not! When you transfer the knitting to the other hand, you turn the knitting round, so the back becomes the front. The previous row was smooth in front when you knitted it, but this turning round means the knobbly surface is now at the front. And the new row will have a smooth surface on the front... So if you do all knit stitch, in rows, then you get alternate smooth and knobbly. It looks like below. You may think that this is all knobbly, but the knobbly rows tend to hide the smooth rows. This type of knitting is called garter stitch. There is a way to produce the front all smooth (which is called stocking stitch), but you need to learn purl for that.
© Jo Edkins 2021 - index to all my websites - any questions or comments, email me