
 Garter stitch
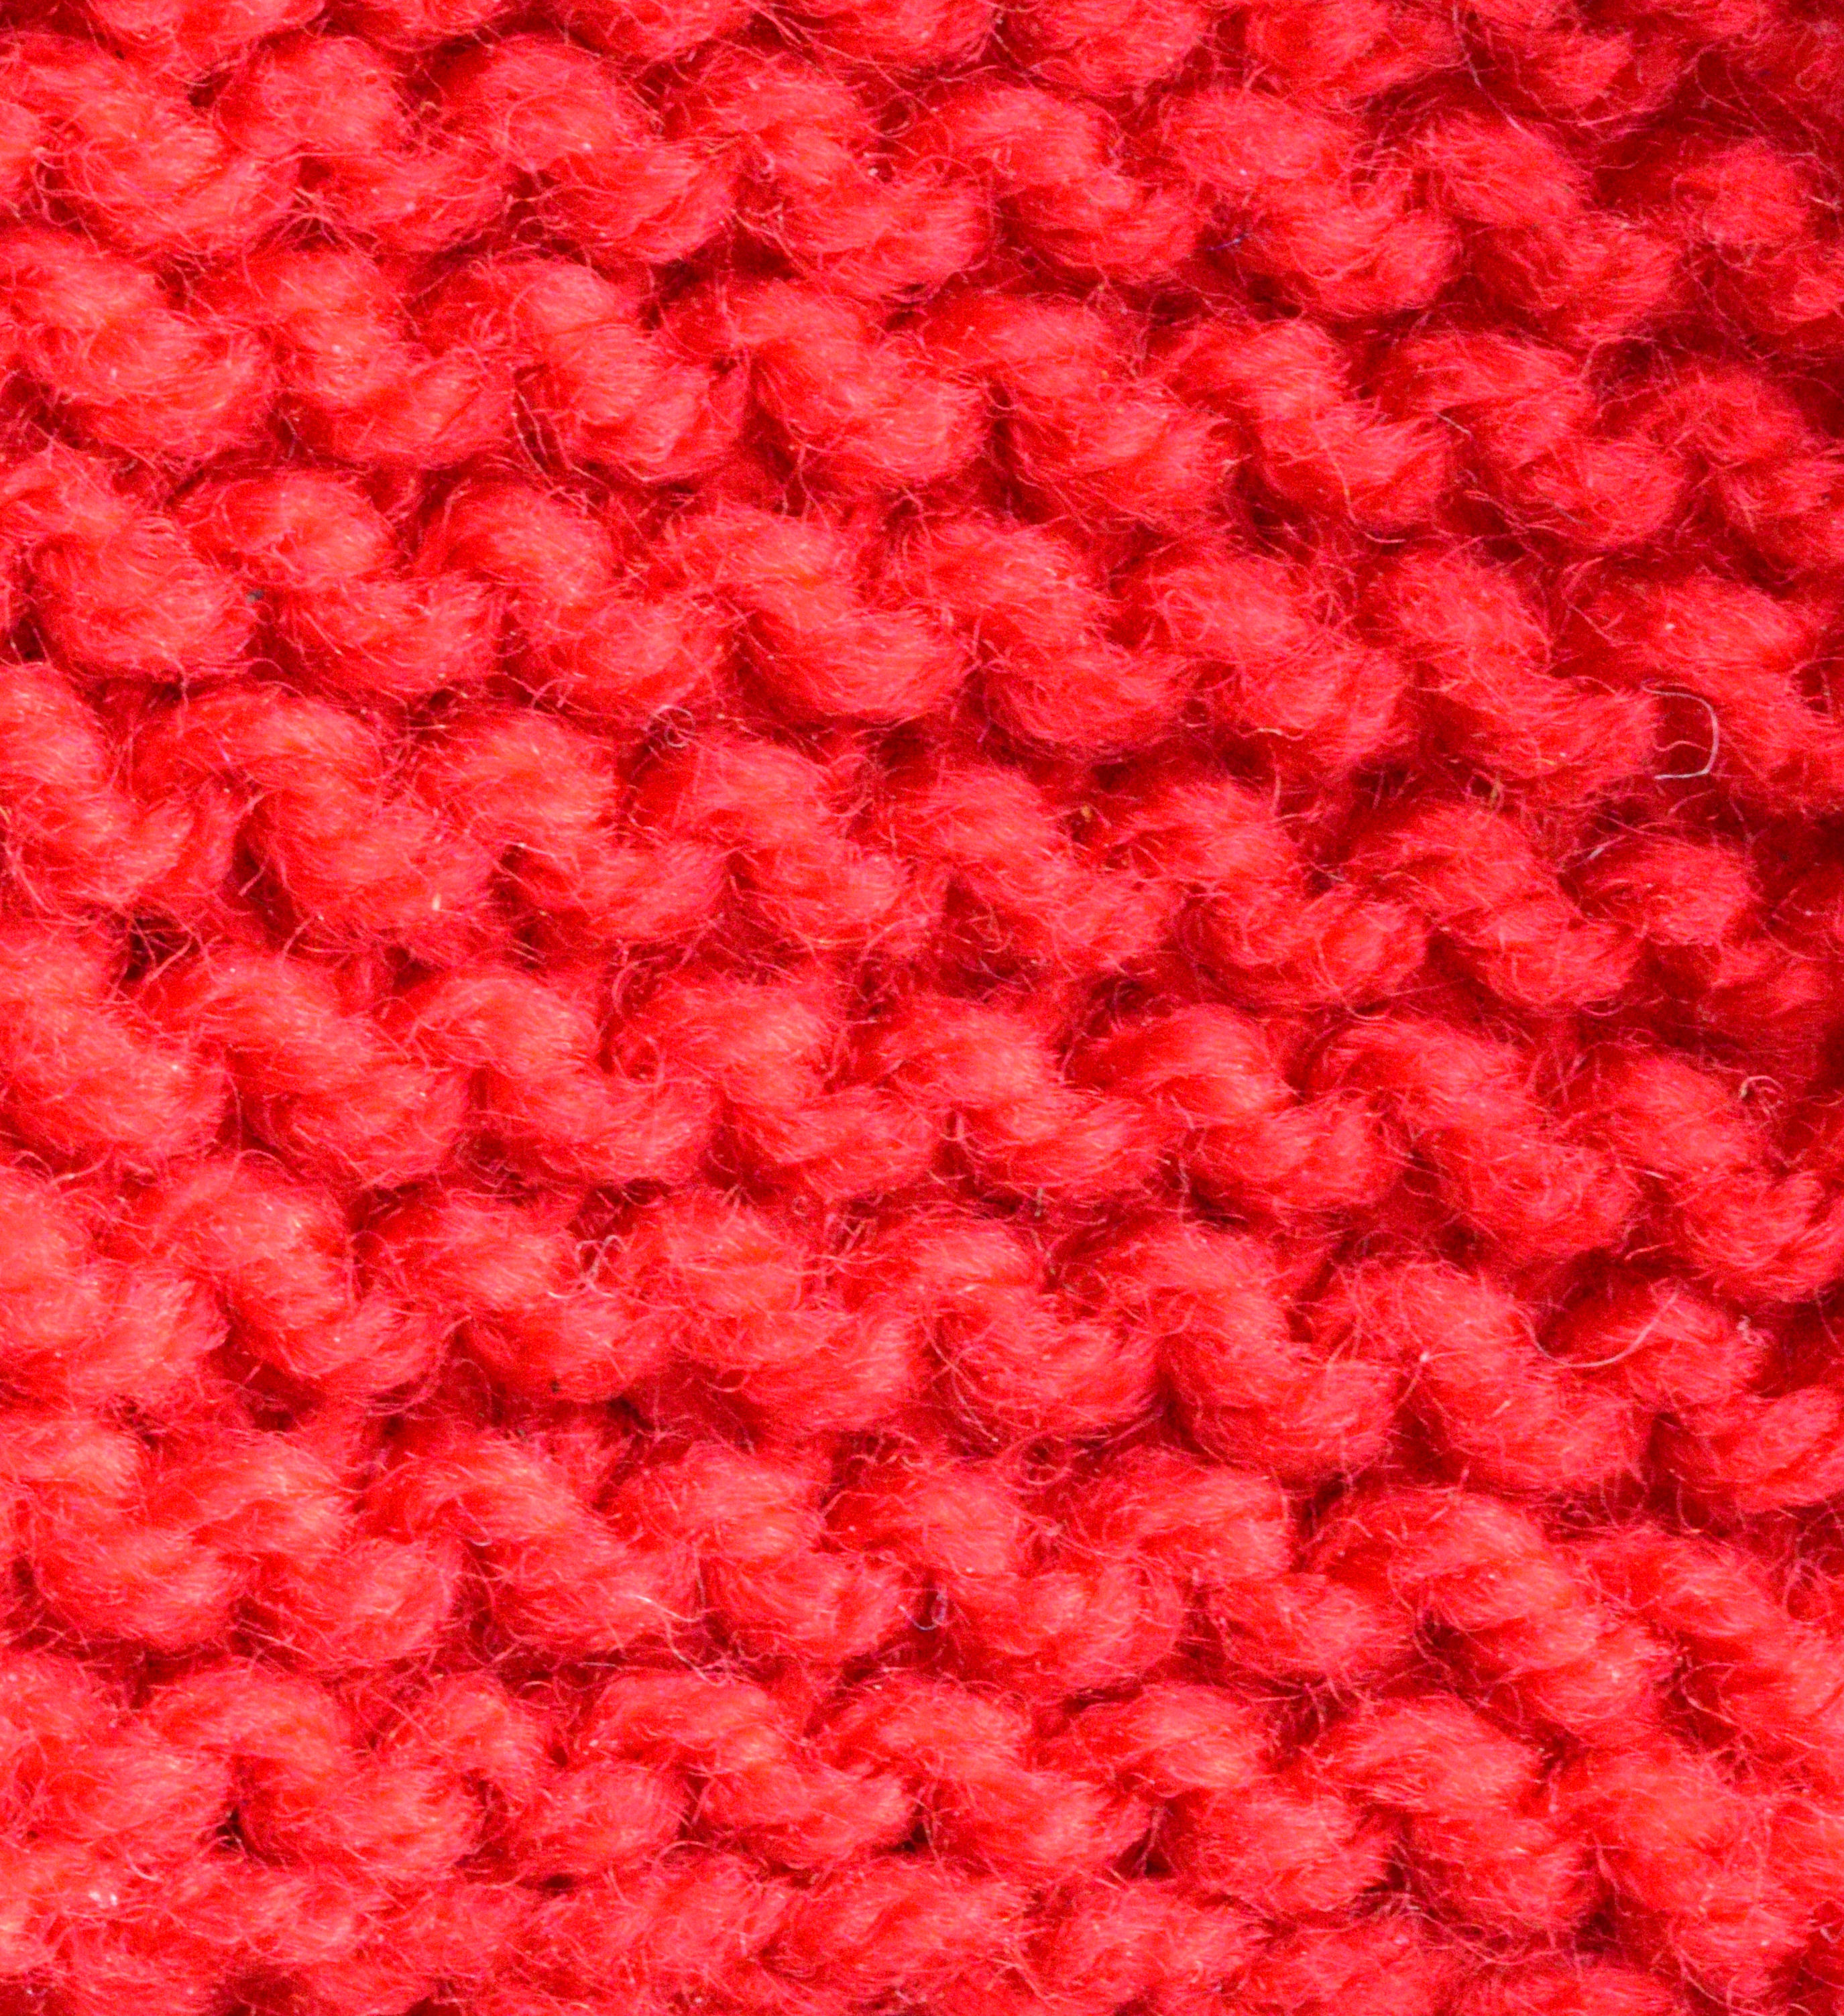
If you can only do knit stitch, and knit backwards and forwards, then you will end up with garter stitch. It looks like this:
Ribbing has columns of smooth (stocking stitch) and knobbly (reverse stocking stitch). As the surface of smooth and knobbly tend not to lie in the same plane, this "coggles" the fabric and the smooth rows tend to disappear.
The simplest type of ribbing has the first row as one knit stitch, one purl stitch, repeated. This produces columns one stitch wide, and this is shown in the photo. You can have two stitches knit, 2 stitches purl, etc, or more. Rememberr that one of the differences between the two stitches is whether the wool is at the back (knit stitch) or the front purl stitch). That means that when changing stitch, you need to take the wool from back to front, or front to back. This should be done between the needles, before starting the next stitch.
Every row must then have stitches of smooth/knobby (stocking/reverse stocking) in the same way. Since you turn round the knitting for each row, that means that every knit stitch in the previous row must have purl stitch in this row, and vice versa. This sounds very complicated, but you soon get a feel for where the wool goes and how the previous stitch lies.
Garter stitch looks the same from both sides. It produces quite a thick knitting.
If you do rows backwards and forwards of purl stitch, you also get garter stitch. The rows are offset by one, but it looks much the same.
If you knit continuous knit stitch (or purl stitch) "in the round", rather than backwards and forwards, then you will get stocking stitch instead. You will also get stocking stitch if you knit alternate rows right-handed and left-handed! You can do this without turning the knitting back-to-front, which is what causes the garter stitch effect.
Garter stitch is also known as knit stitch.
Garter stitch is the simplest type of welting.
© Jo Edkins 2021 - index to all my websites - any questions or comments, email me