
This pattern will only work with the right sized sticks. Please read Introduction to making a fan.
Pattern:
Bobbins: 29 pairs
Style: Torchon
Stitches:
half stitch
cloth stitch
cloth stitch and twist
twist pair
picot
plait
Details:
picots and passives headside (grey and red)
half stitch zigzag (blue)
Torchon double ground (grey)
rose ground (green)
honeycomb (pink)
footside without passive (grey)
making a fan
Description:
Follow the links above for explanation of how to work the different parts of the lace.
Unlike pattern 246, I used ordinary thread rather than thick thread. This gave me a wider range of possible colours. Anyway, I wanted to see what would happen if I did!
I got the fan sticks from SMP Lace in UK, who sell lace kits. They sell lace patterns to go with the sticks, but I designed my own pattern. There are 13 sticks in the fan, whch gives a pattern repeat of 12 (since the first stick counts as zero). If you make the repeat of the pattern the same as the sticks, it makes it easier to glue the lace to the sticks, as knew which stick should go where!
This is quite a large pattern. I used a polystyrene pizza base to work it! See making a fan for details.
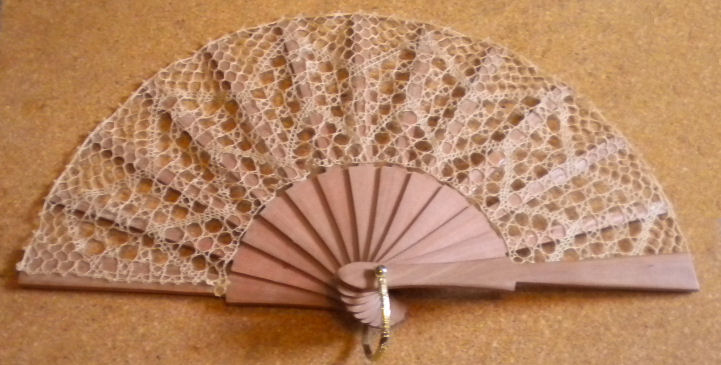
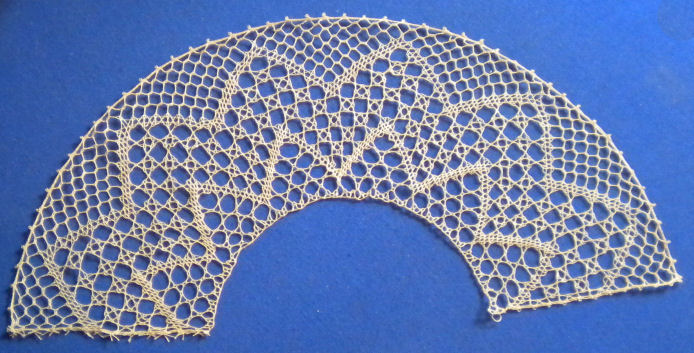
The photos show the fan before fastening to the fan sticks, and after. The different colours are entirely due to the different lighting conditions and backgrounds. The final piece of lace was just stuck onto the sticks with glue - the transparent strong adhesive, but not Superglue. It seems to work well, but a little care is needed when folding up the fan.
Fan stick length from hinge to end - 7.25 inches. Width of lace (max) - 3 inches. Angle of arc - 180°. I must emphasise - you cannot buy a fan kit or existing fan, and expect this pattern to necessarily match. Fan patterns are very specific to the dimensions of the fan sticks. See making a fan for information about the dimensions of a fan.
© Jo Edkins 2017 - return to lace index